Getting started with Qiskit!

Qiskit is a powerful open-source framework using for quantum computing. Likewise, it will be useful for tinkering with quantum circuits, and even the simulation of quantum algorithms. For the purpose of this crash-course, we will be using the Quantum Lab on the IBM Quantum Experience, but you can work locally (I’d recommend Anaconda/Jupyter Notebook). However, to send jobs to IBM’s quantum computer you will need to make an account.
Upon making your account, you will led to the dashboard. It should look something like this:
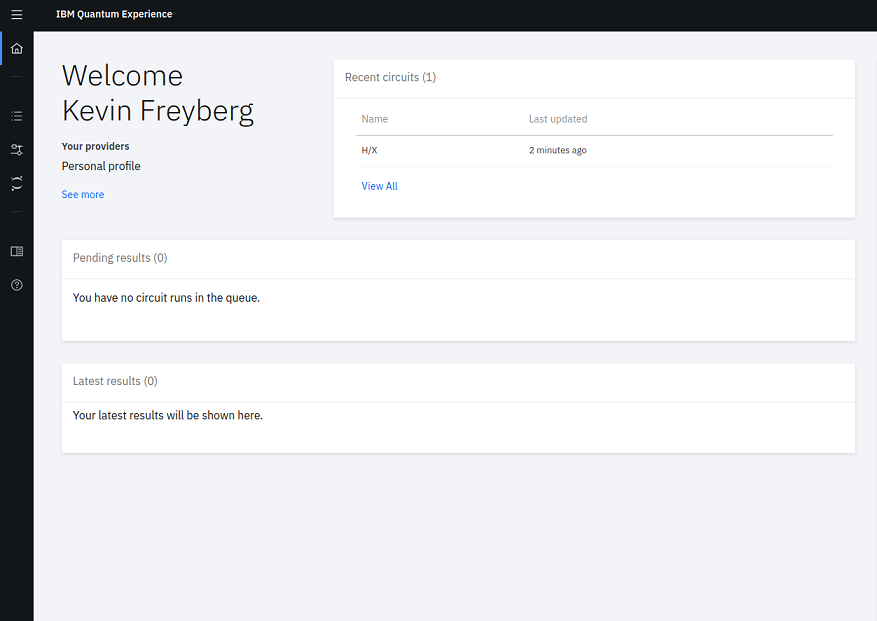
To enter the Quantum Lab, select this icon on the left panel:
![]()
Simulations on the Quantum Lab are performed with the help of Project Jupyter. To start, select this following icon to create a new notebook:

Select your new notebook and open it. You will be a presented with a screen like so:
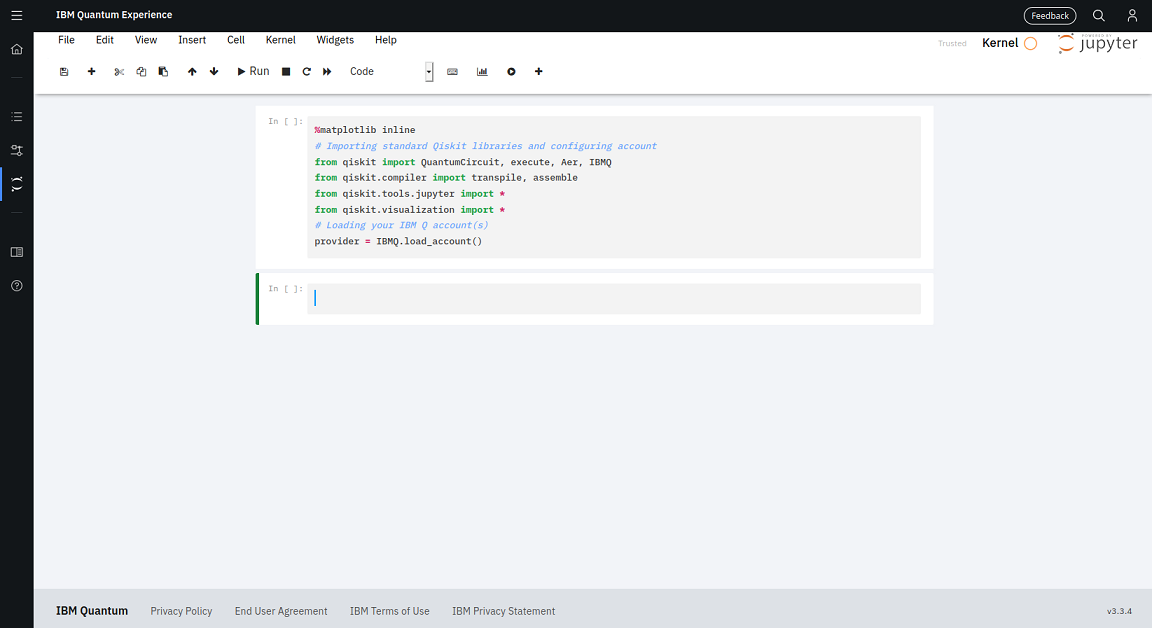
In the selected cell, paste in the following code and run:
# Creates a new Quantum Circuit on the quantum register
q_circuit = QuantumCircuit(2, 2)

# Adds a Hadamard (H) gate on a qubit. In this case, qubit 0.
q_circuit.h(0)

# Adds a controlled NOT gate (CNOT) on control qubit 0, target qubit 1
q_circuit.cx(0, 1)

# Maps qubit measurement to classical bits
q_circuit.measure([0,1], [0, 1])

# Draws the circuit
q_circuit.draw()
Congratulations, you have just completed your first quantum circuit!
At this point, you’re probably perplexed by the mess you pasted in. Don’t worry, you aren’t expected to know what these functions do right off the bat. As we journey through this guide, you will understand every aspect of this program and way more.
With that being said, let’s set off to Episode I!